Share


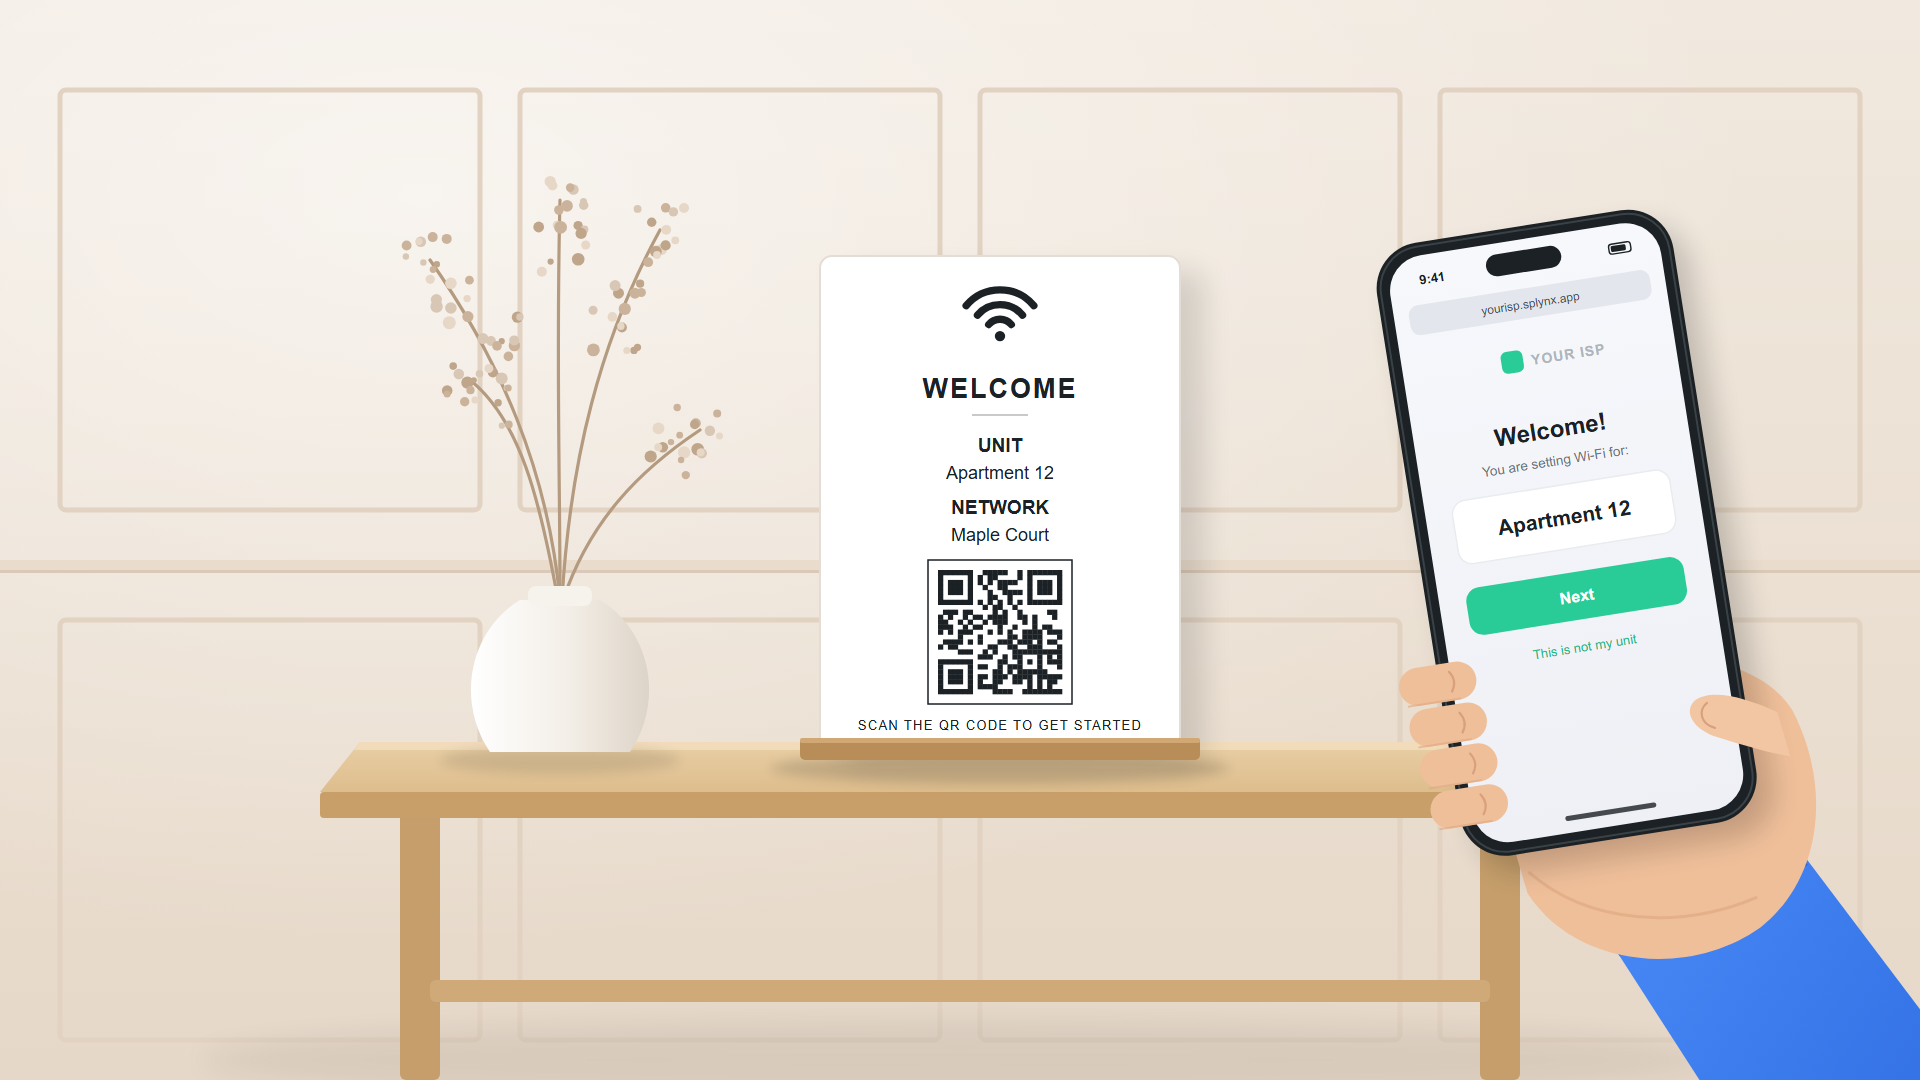
In an apartment building, every new resident usually means the same routine: a ticket, a call to confirm the plan, a password written on a sticky note, and sometimes a technician visit. With hundreds of units and steady tenant turnover, that routine never really ends.
Self-service onboarding takes your team out of that loop. Each apartment gets a printed card with a QR code. The resident scans it, picks a plan, pays, and connects to the building’s Wi-Fi with a private password. Under the hood it runs on mPSK: one SSID for the whole building, with a unique key for every resident.
Key Takeaways
There are three moving parts. You prepare the units in Splynx and print a card for each one. The card stays in the apartment. When a resident moves in, they scan it and go through a short sign-up on their phone.
Splynx works as the RADIUS server for the building’s access points. As soon as the resident finishes the sign-up, their password is live on the shared SSID, tied to their plan and billing status. Once your access points use Splynx as their RADIUS server, adding a resident needs no changes on them.
The QR code already carries the unit, so the resident never has to type an apartment number or pick a building from a list. The sign-up page carries your logo and shows a progress bar through four steps.
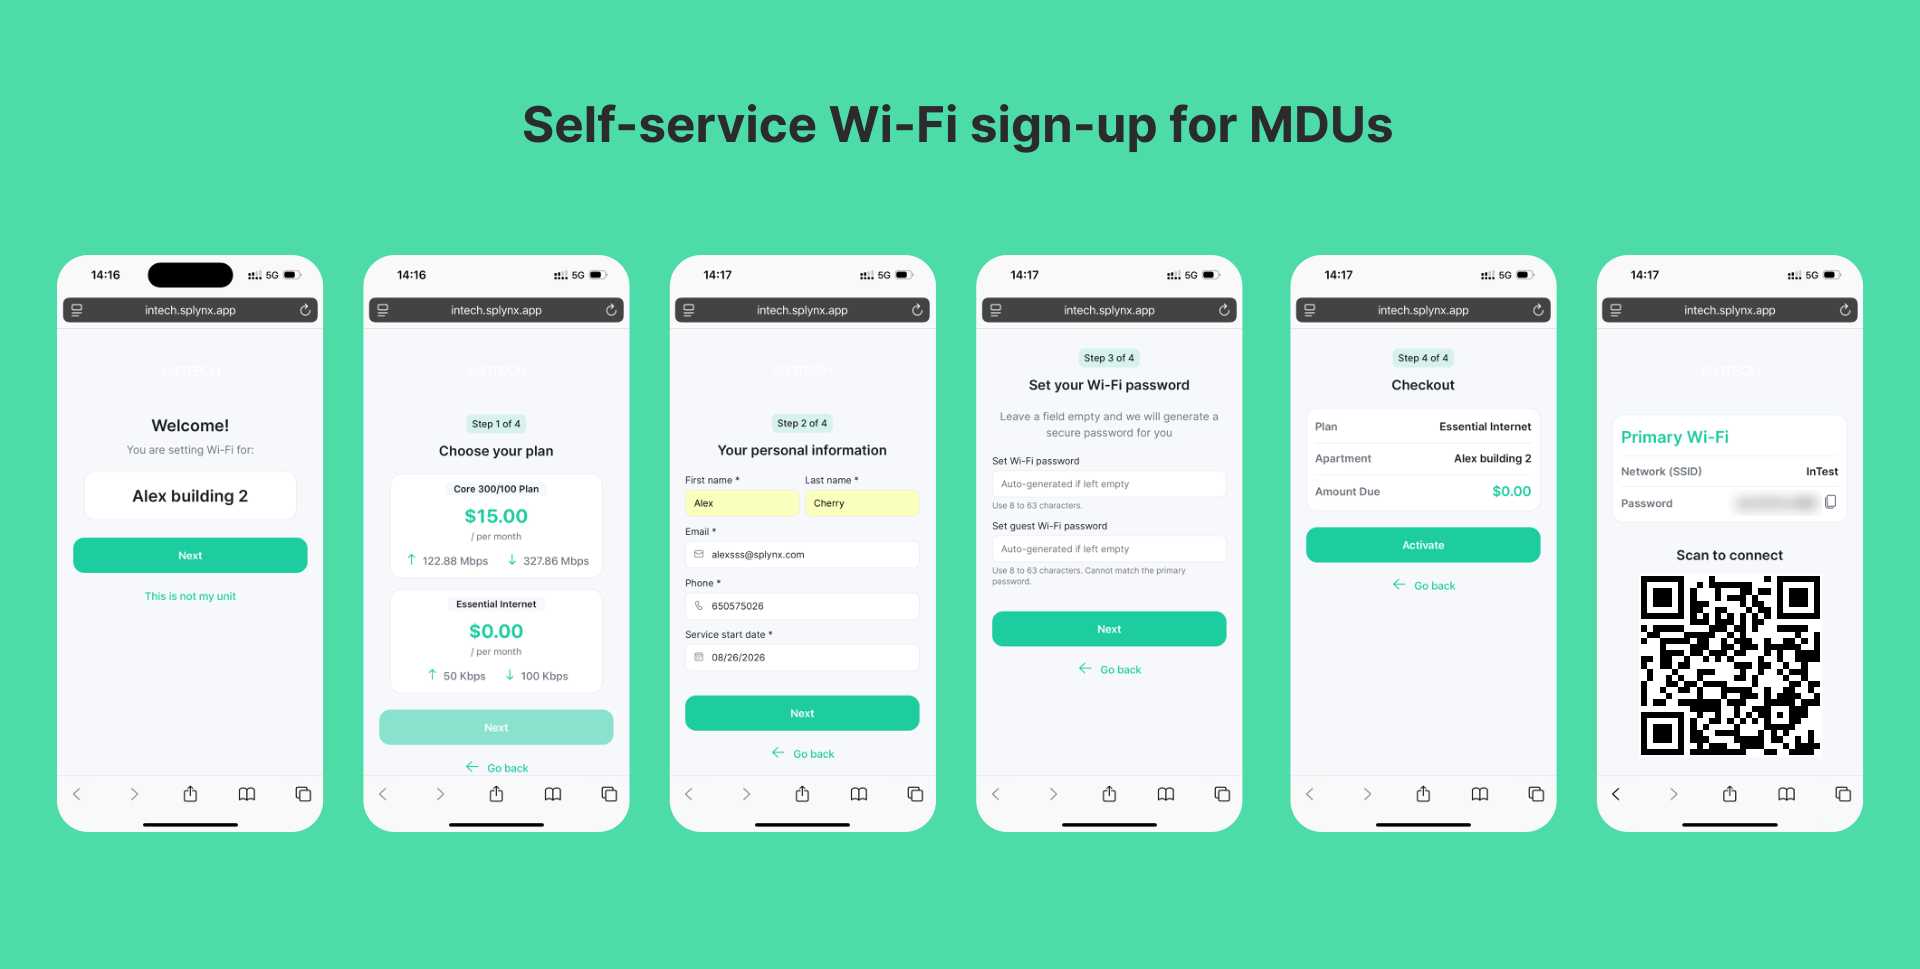
Here is what the resident sees, screen by screen:
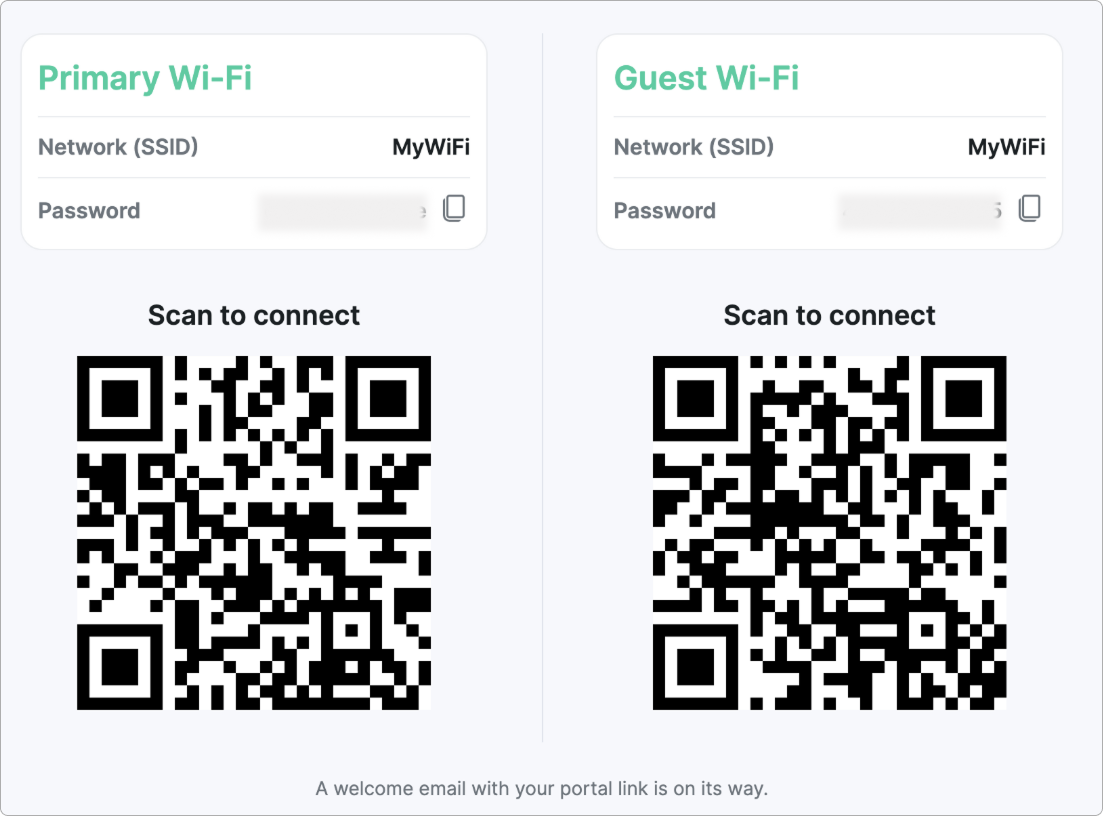
Self-service only works if residents never end up stuck and calling you anyway. The flow handles the cases that usually create tickets:
On your side, the work happens before anyone moves in. In the MPSK onboarding section, you create a generation: a batch of units for one building or floor. You set a naming pattern such as “Apartment {next}”, choose the SSID and the plans residents can pick from, and give a VLAN range. Splynx creates the units and assigns each one its own VLAN.
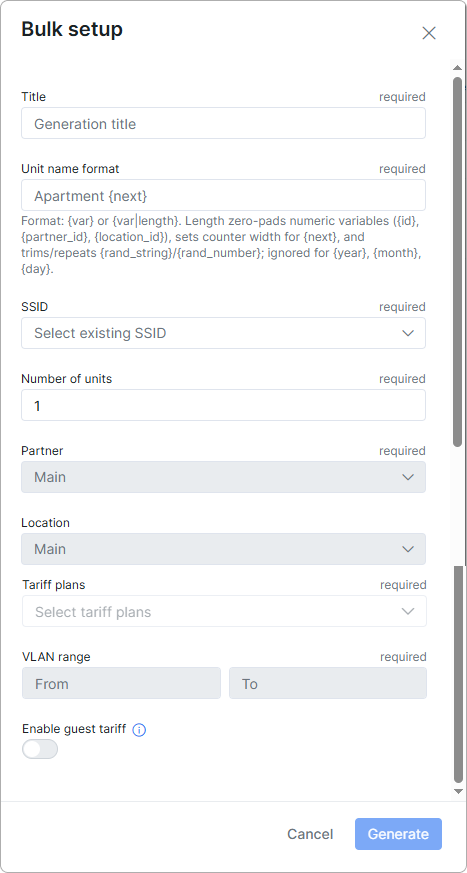
If the building already has unit names and VLANs in a spreadsheet, you can import them from a CSV or XLSX file instead. And if one extra apartment appears later, you add it to the existing generation without running a new batch.
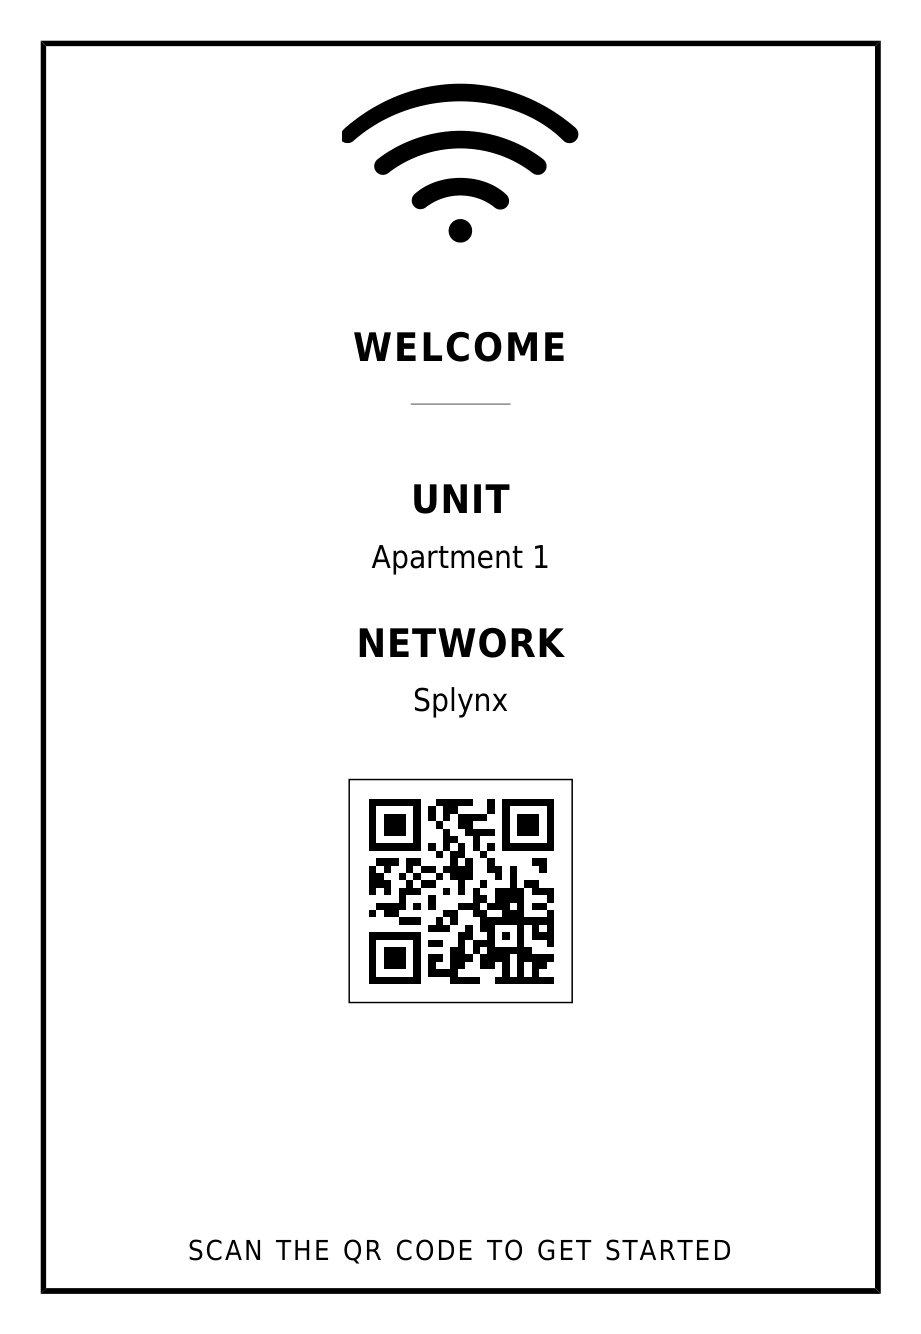
Then you print. Splynx renders one A5 card per unit, with the unit name, the network name, and the QR code. You can print the whole batch at once and adjust the card template, as well as the welcome email, to match your brand.
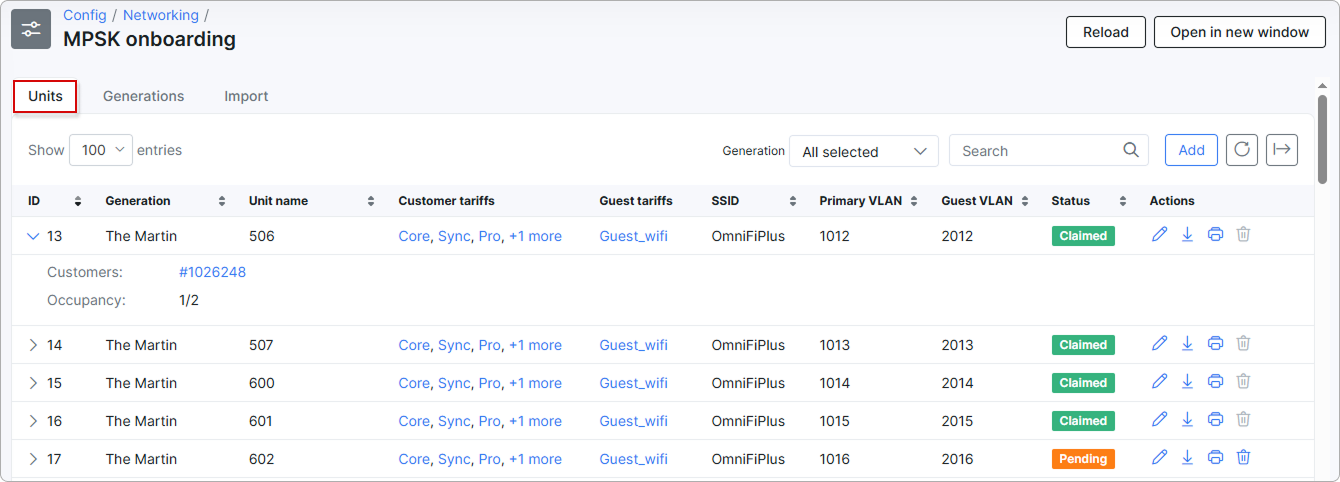
All units stay visible in one table. Each one shows its plans, VLANs, and status: Pending until someone signs up, Claimed after that, with occupancy such as 1/2. You can see at a glance how much of a building is already connected.
The full setup, including the import file format, is in our documentation.
The add-on is built for buildings where every unit needs its own Wi-Fi credentials and its own VLAN. Splynx assigns each unit a VLAN ID from the range you set and stores it with the resident’s service, so your network can keep every apartment in its own segment. The building still has one network name, while every resident connects with their own key. We covered how mPSK and per-key VLANs work at the RADIUS level in our guide to mPSK.
Guest access follows the same logic. If you enable a guest plan for the building, each resident gets a second password on the same SSID, with its own guest VLAN ID. Visitors get online without the resident ever having to share their main password.
Tenant turnover is where manual onboarding hurts most, and where self-service pays off. When a customer created through onboarding becomes inactive, their slot in the unit frees up. The card stays on the wall, and the next resident scans the same QR code to sign up.
If a resident’s service is blocked in Splynx, for example for non-payment, their Wi-Fi password stops working, while everyone else in the building stays online. There is no shared password to change and no devices to reconnect.
Because plans and prices are yours to set per building, the same flow fits different deals with property owners:
Plans don’t have to be monthly, either. A weekly plan works for short stays in serviced apartments, hotels, or student housing between semesters.
You need Multiple PSK enabled with at least one SSID, the Stripe add-on, email sending set up for welcome emails, and the plans you want to offer residents. Then install the MPSK onboarding add-on from Config → Integrations → Add-ons, create your first generation, and print the cards. The step-by-step guide covers every field.
No. The QR code opens a page in the phone’s browser. The whole sign-up, payment, and connection happen there.
Yes. You decide how many active residents one unit can have. The default is two, and you can change it in the add-on settings.
Yes. The sign-up page shows your logo, and both the printed card and the welcome email use templates you can edit.
The first screen shows the unit name from the card. If it’s not theirs, the “This is not my unit” link shows your phone number and email, so they can contact you before signing up.

What is mPSK? Multiple PSK for simple per-device control of Wi-Fi networks
mPSK support is part of Splynx, so you can easily segment your WiFi Network with Private Pre-Shared-Keys without requiri...
Improve Non-Payment Handling with Splynx DNS Blocking
Tackle non-payments more proficiently by redirecting blocked customers to a landing page. From there, they can easily ac...
Switch to the safe side and let network engineers sleep well at night
Running a local ISP comes with enough challenges — worrying about network failures and blocking non-paying customers d...

Using TR-069 ACS to Deliver High-Quality Wi-Fi to Residential Customers While Cutting Costs
TR-069 ACS isn't a magic pill for all troubles, but it can make your life much easier. This article we'll guide you thro...

Bandwidth isn’t key to QoE. Latency, bufferbloat & jitter matters
Many people misunderstand bandwidth and network speed and think latency doesn't matter over fiber. But that's not how it...
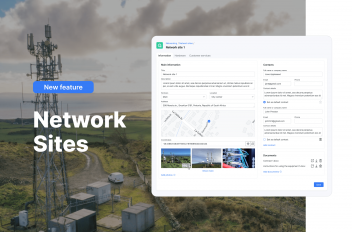
Simplifying Network Management for ISPs with Splynx Network Sites
Splynx Network sites bring ISPs around the world more streamlined client communication and efficient tracking for all yo...
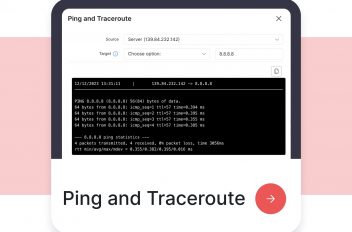
Simplifying network troubleshooting with Ping and Traceroute features
Explore Splynx 4.2's Ping and Traceroute features, simplifying network troubleshooting and boosting ISP team efficiency.
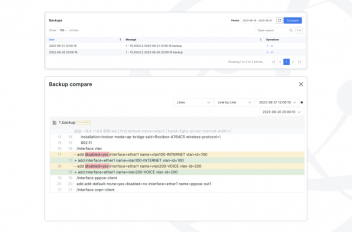
Hardware Backup & Change Management in Splynx
Maintaining network stability and reliability is paramount for both ISPs and their valued customers. To address this, Sp...
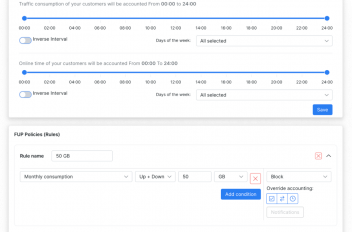
Bandwidth management in Splynx
As a local ISP business owner, ensuring efficient bandwidth management is crucial for maintaining customer satisfaction ...
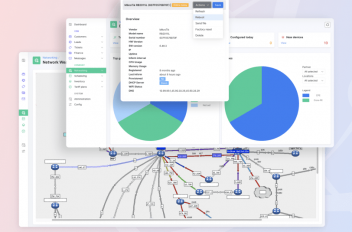
Streamlining network management: A closer look at Splynx’s capabilities
Efficient network management is essential for ISPs to deliver reliable and high-quality services to their customers. Wit...
Find out how Splynx helps ISPs grow
Learn more