


The ISP realm is characterized by its diverse operations – from customer onboarding and network management to billing, support, and beyond. Each relies on a constellation of software tools designed to excel in its specific role. At Splynx we understand that the true potential of these tools is unlocked when they communicate seamlessly. Thus, we are thrilled to bring a new way to integrate third-party software solutions with our system:
Zapier, the leading integration platform, empowers businesses to connect and automate workflows between different applications without writing a single line of code. It acts as a bridge between different software tools, enabling them to communicate and share data effortlessly. The beauty of Zapier integrations lies in their simplicity—they enable businesses to create “Zaps,” which are automated workflows connecting different apps through “triggers” and “actions.”
The introduction of Splynx’s integration with Zapier opens up a whole new world of possibilities for ISPs. While currently in beta, this integration offers a simple way to connect Splynx with over 5000 apps from Zapier integrations list. This is a step towards a more interconnected and efficient business ecosystem. At the moment, this integration works in one way only, meaning triggers from various sources can initiate actions within the Splynx platform and not the other way around.
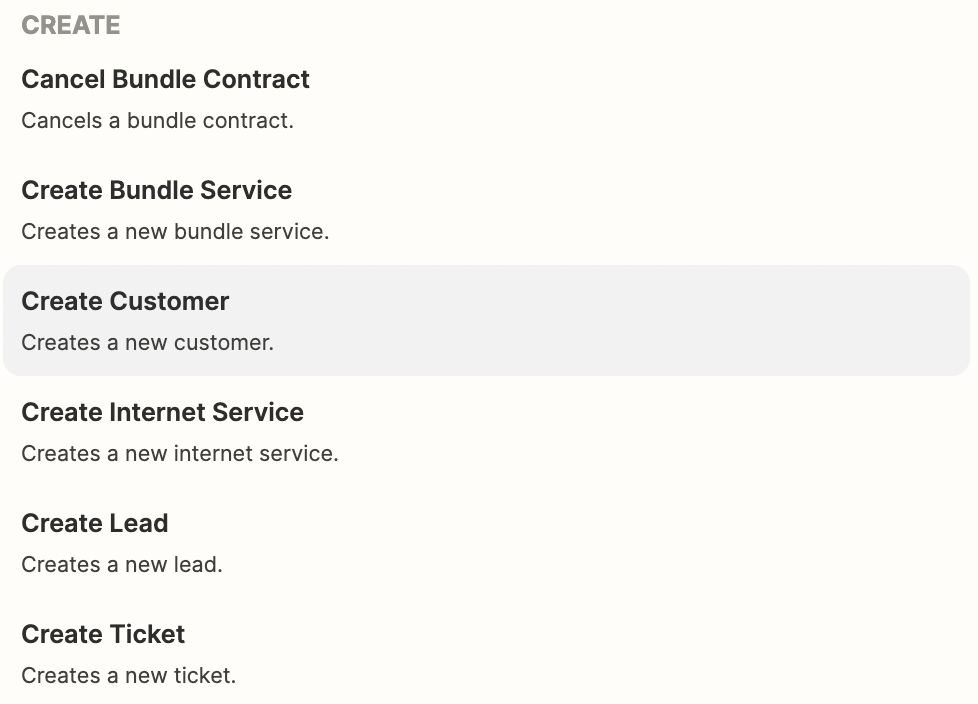
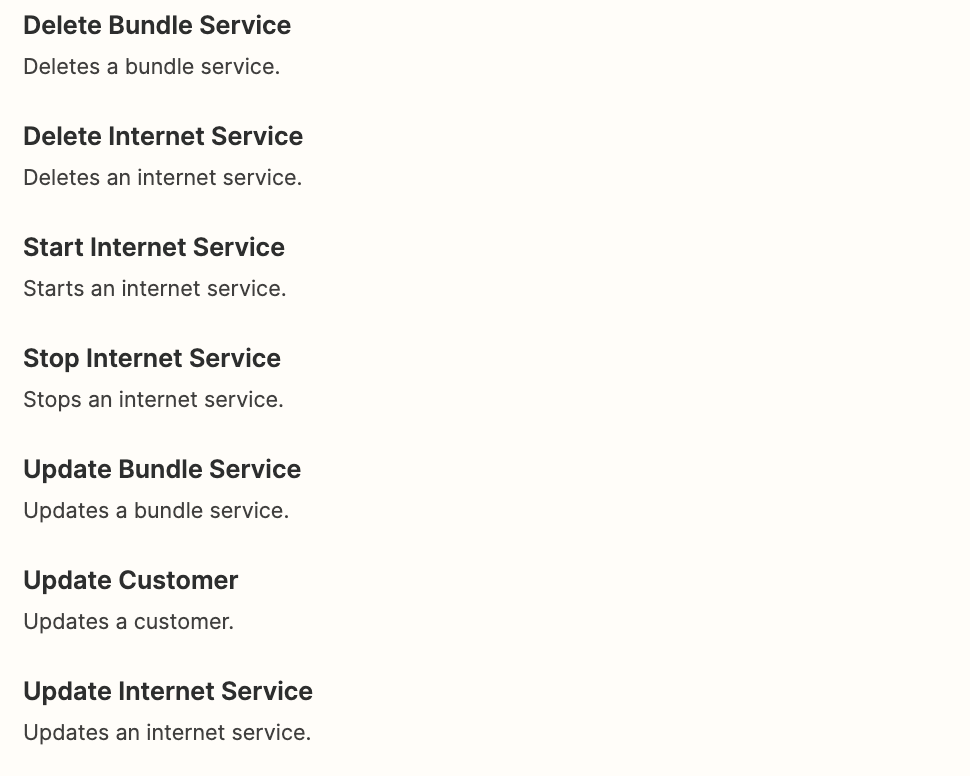
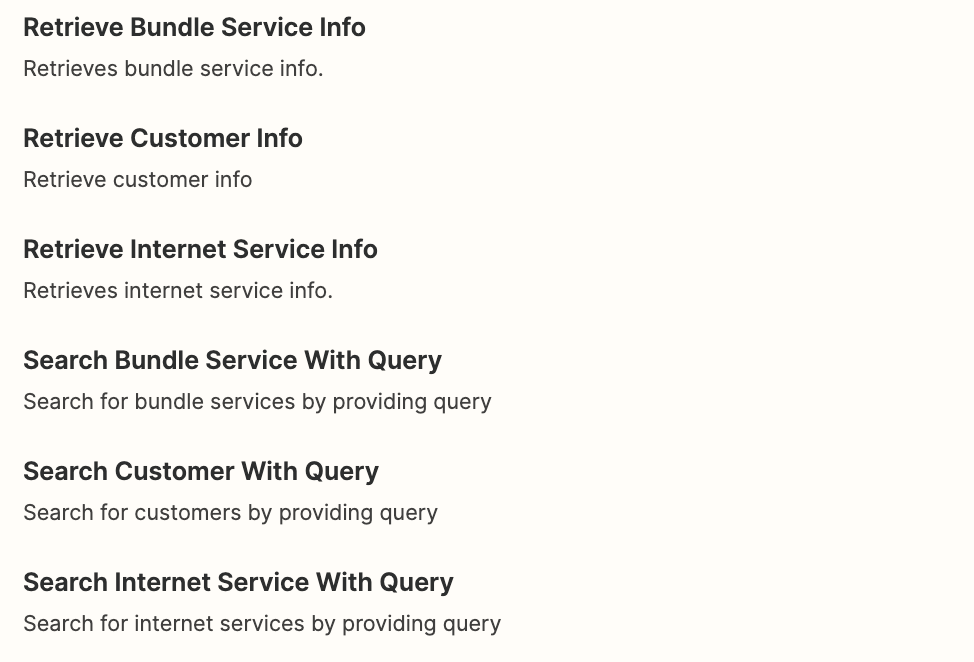
In its current beta phase, there is a range of actions in Splynx that could be triggered from other sources:
Create options: For example, you can create a new customer after a lead texts you on Facebook Messenger.
Delete/start/stop/update options: For example, you can set an automatic service update after a notification email to a customer.
Search options: For example, you can automatically retrieve customer info into Google Sheets when compiling various reports or analyzing your customer base.
Connecting Splynx with Zapier is a straightforward process that doesn’t require any coding skills. Here’s a step-by-step guide to get you started:
1. Create Your Zapier Account: If you haven’t already, sign up for a Zapier account at zapier.com.
2. Generate API Key: Generate an API key within your Splynx account, which will be required to connect Splynx with Zapier.

We also recommend selecting all relevant permissions beforehand to avoid any errors later on when creating your Zaps.
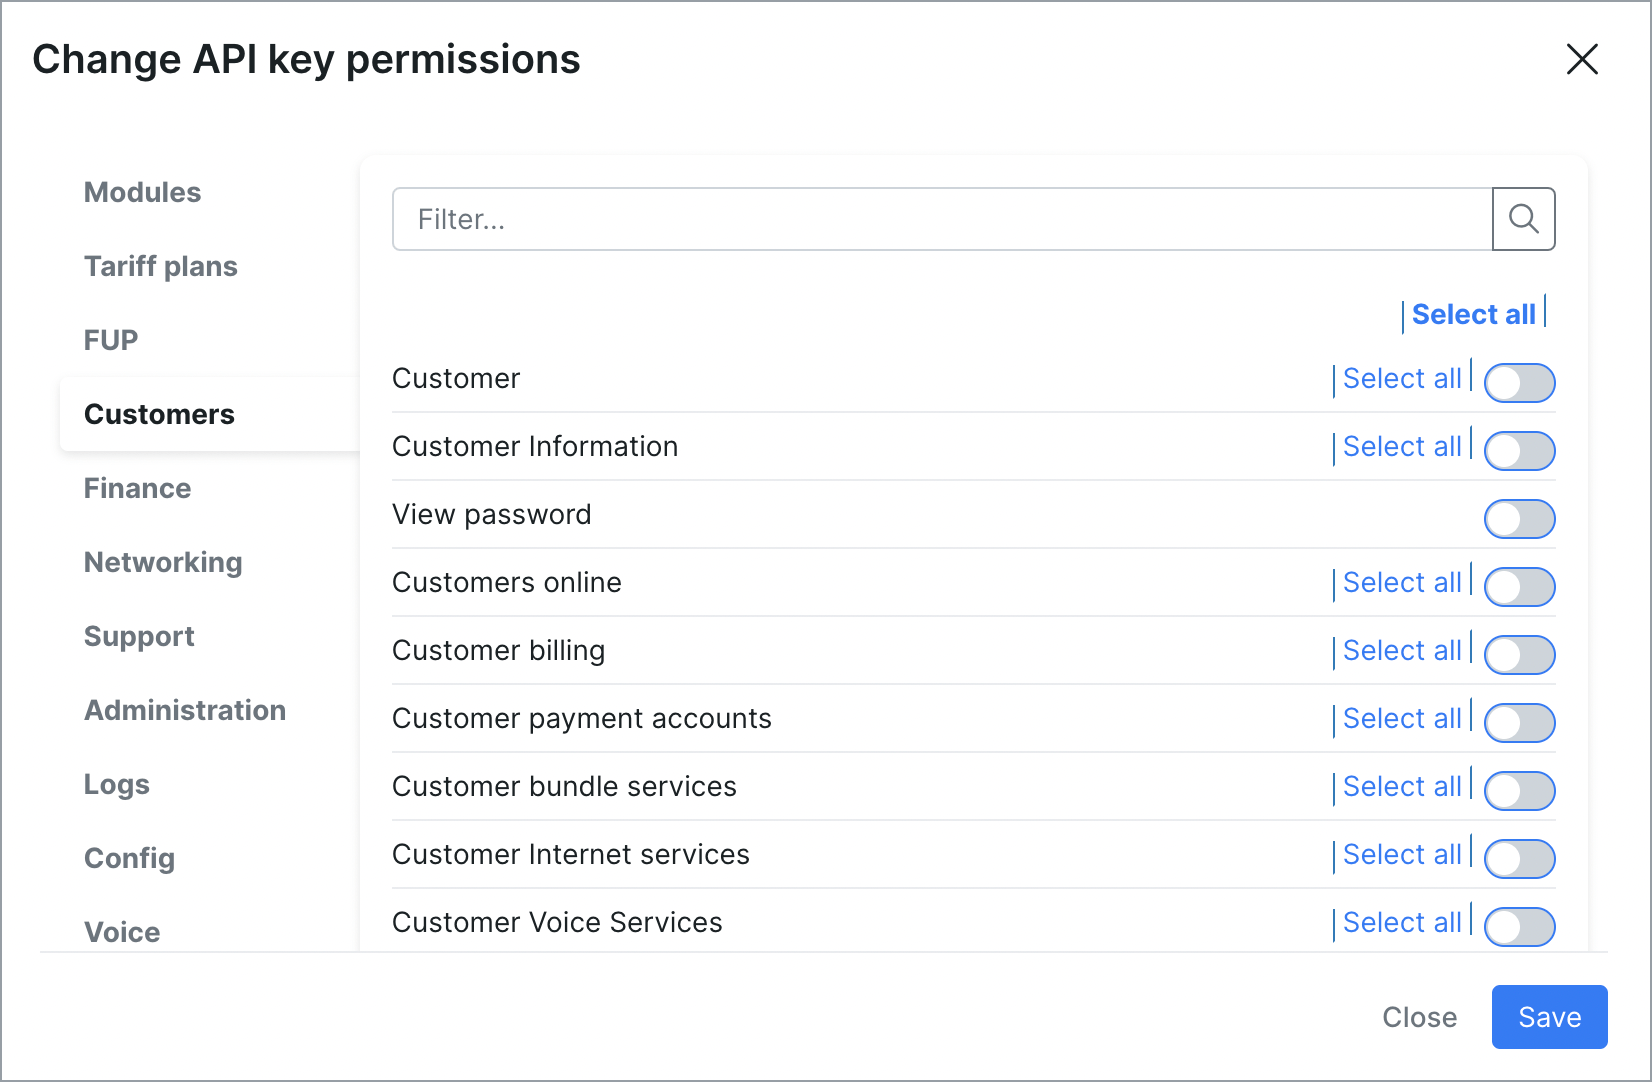
Read our documentation on API keys to learn more.
3. Build Your Zap: In Zapier, create a new Zap and select a trigger app (e.g., your CRM software, email, etc.) and Splynx as an action app.
4. Connect Splynx: Authenticate your Splynx account by entering the API key generated earlier.
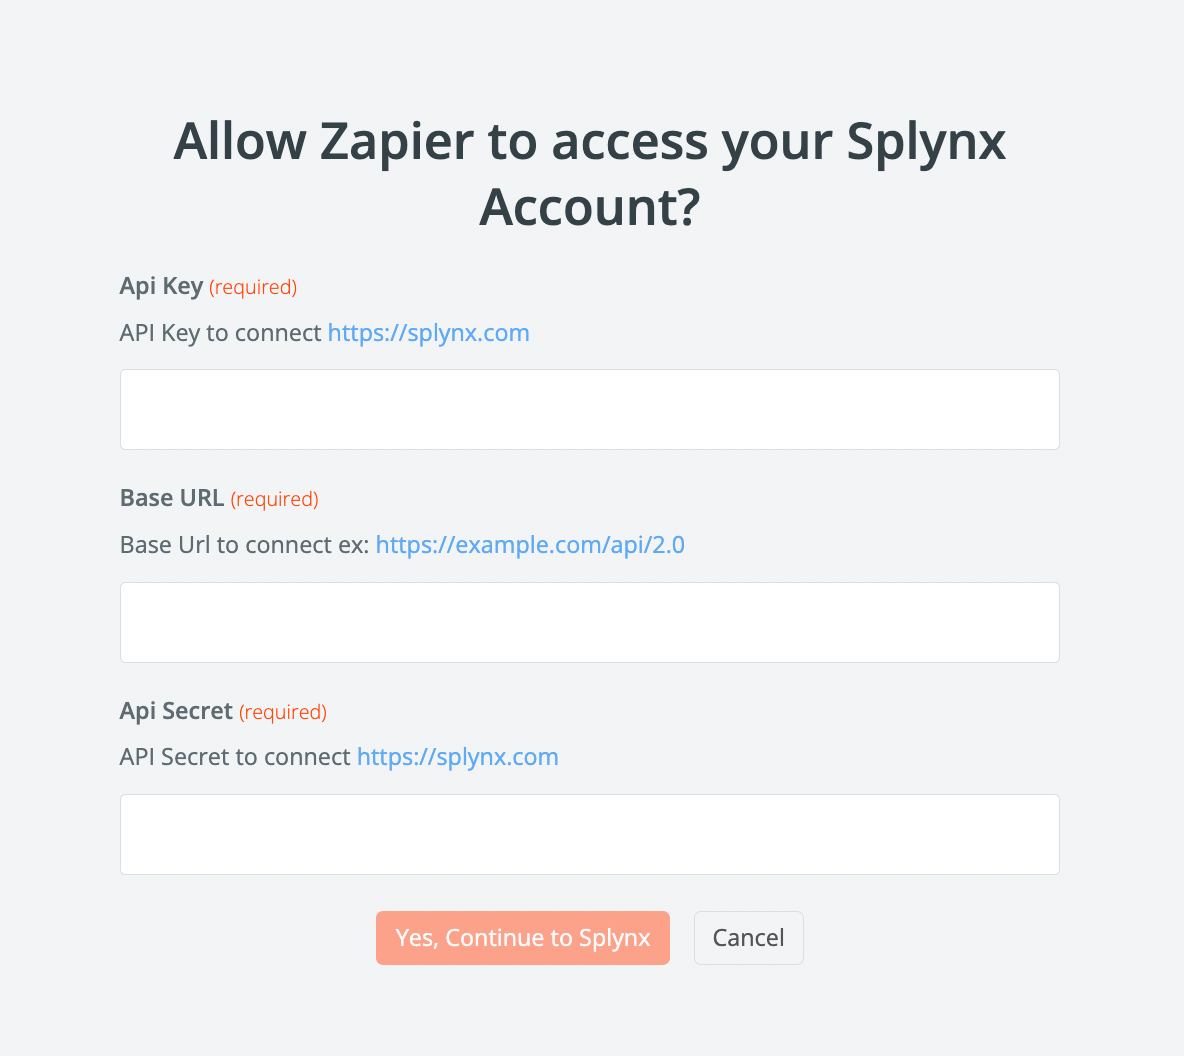
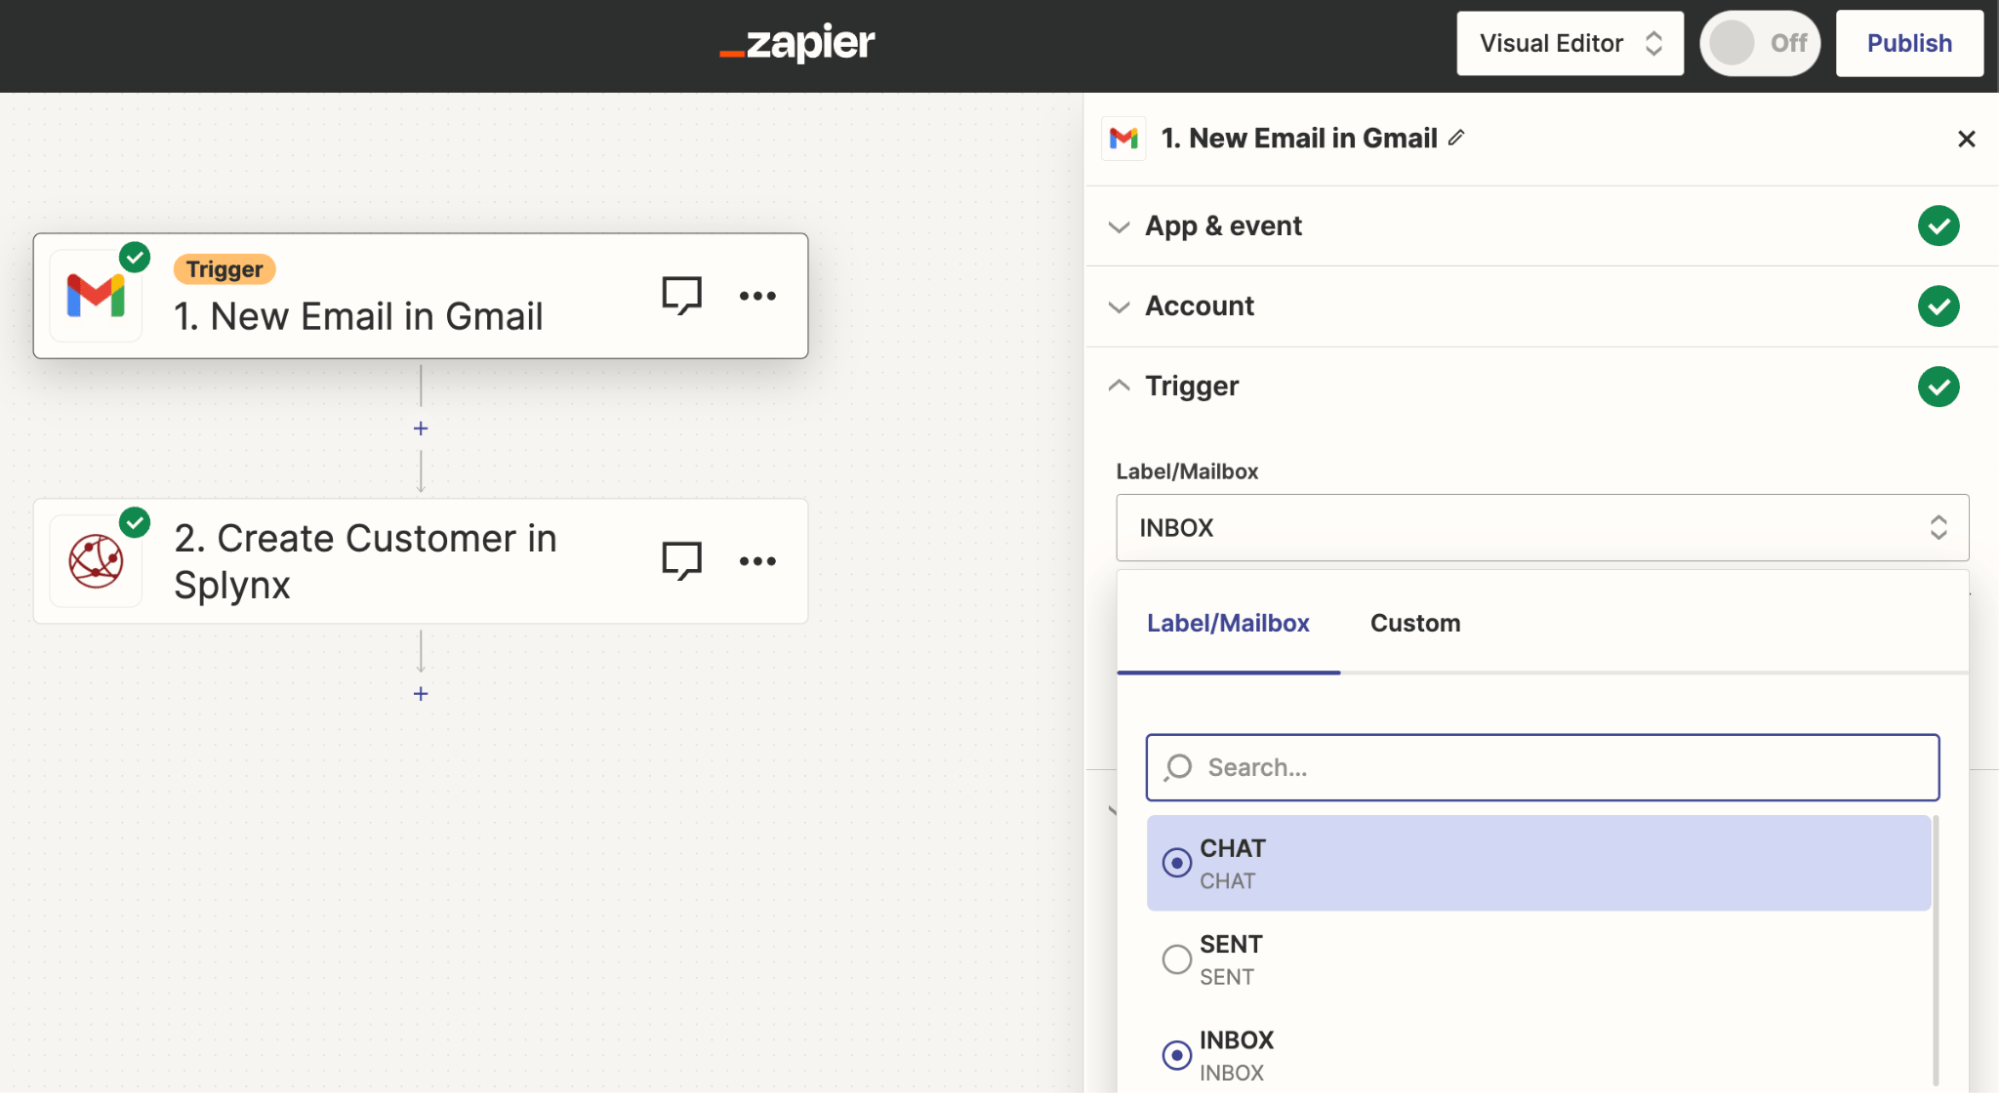
5. Define the Trigger and corresponding Action.
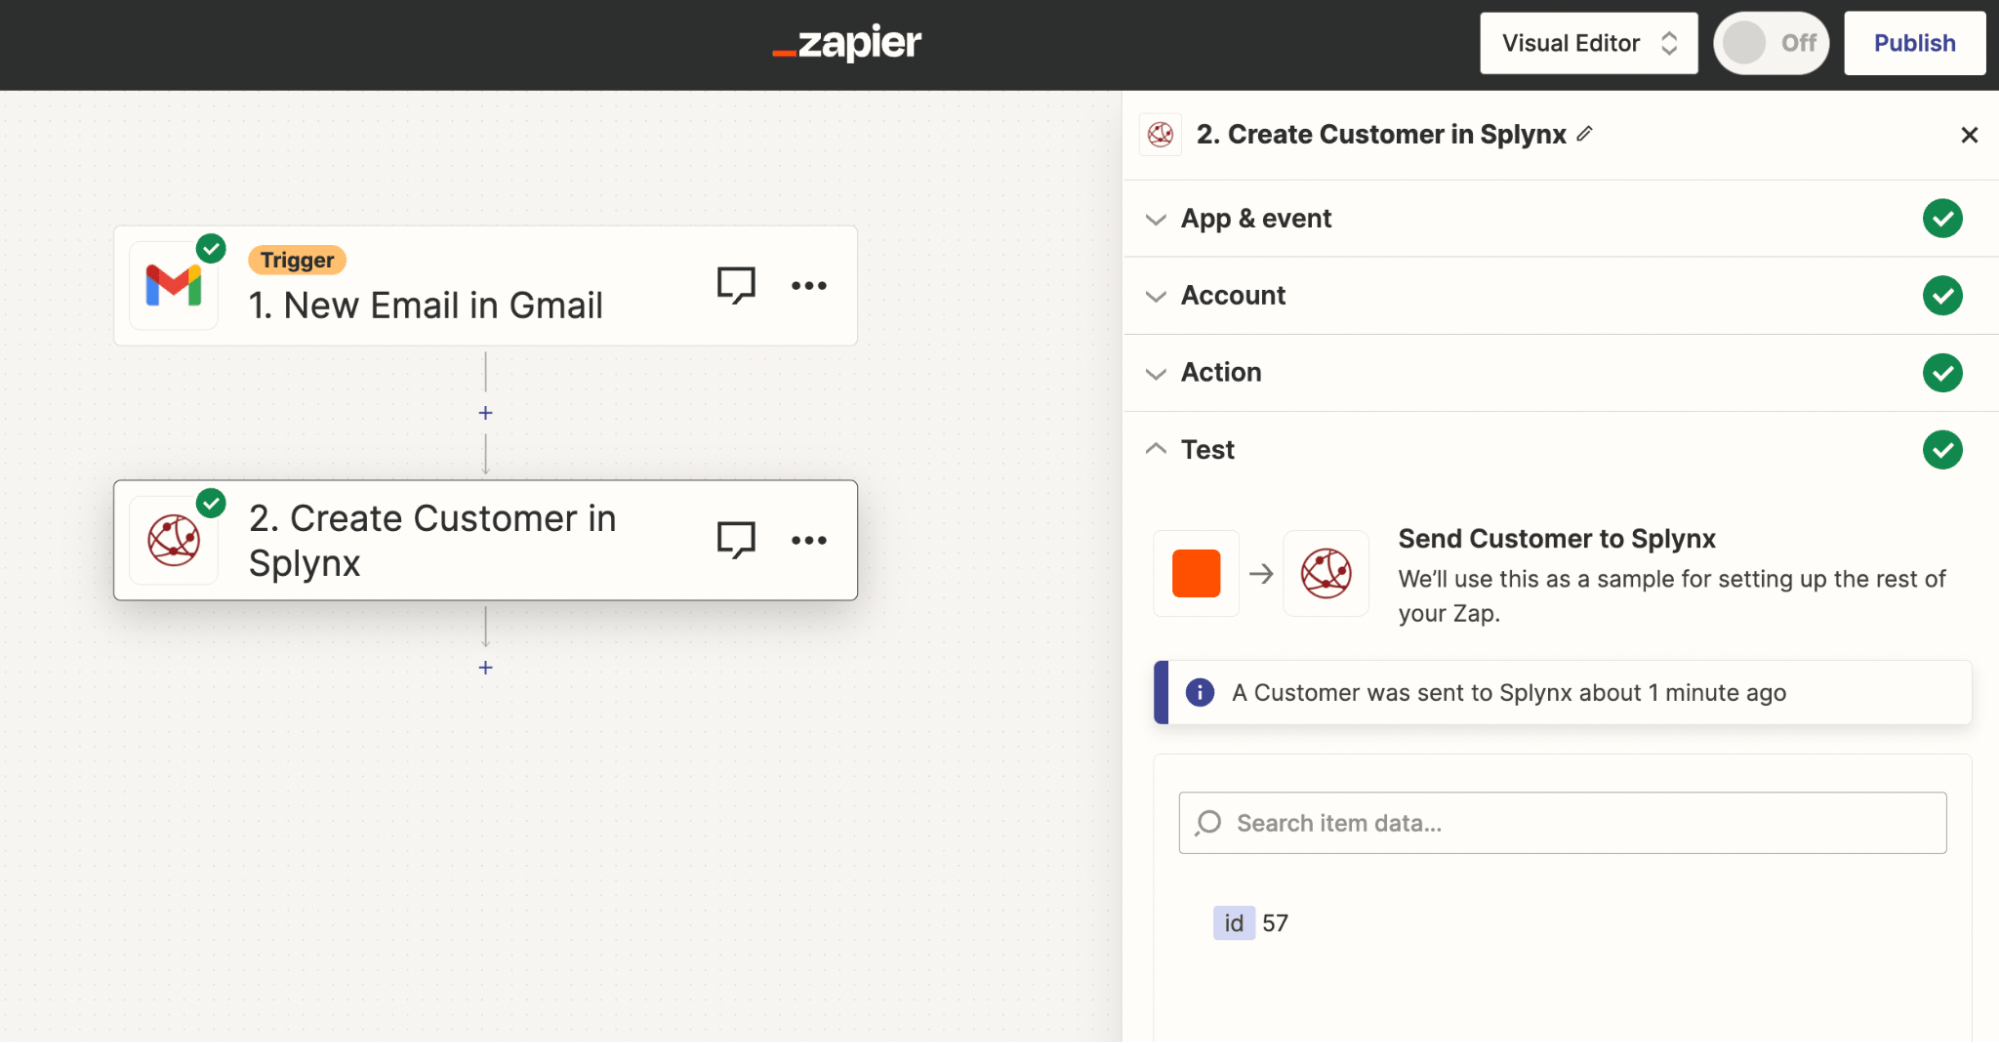
6. Test and Activate: Test your Zap to ensure it’s functioning as expected. Once satisfied, activate the Zap to start automating your workflow.
As we embark on this journey, we must recognize that the beta phase is the first step. The future holds even greater promise as we strive to develop and expand based on your active engagement.
Embrace the power of automation, enhance customer experiences, and win in the connectivity game – all with the simple clicks and connections provided by Splynx and Zapier integration.
Find out how Splynx helps ISPs grow
Learn more