
Share

Juniper Networks is one of the leading vendors producing networking equipment. Together with Cisco, Juniper defines where networks are moving. The company sells different solutions starting from routers, switches, and up to software-defined products such as Open Contrail.
In the Internet provider’s network, Juniper is mainly used as a BRAS equipment (broadband remote access server). The MX series routers ideally fit as BRAS with the ability to process gigabits and hundreds of gigabits of traffic together with providing such access services as PPPoE, bandwidth limitation, policing, and NAT.
We have deployed Splynx in different networks running on Juniper MX80, MX104, and MX960 routers. JunOS versions from 14 to 18. The configuration below should work on any MX router and is based on a combination of Dynamic profiles and Policy names.
In the first step, we should define the Access and describe the Radius configuration. Radius server IP is 192.168.1.5 and Juniper router IPs is 192.168.1.6.
access {

profile Splynx {

accounting-order radius;

authentication-order radius;

radius {

authentication-server 192.168.1.5;

accounting-server 192.168.1.5;

options {

nas-identifier JUN;

accounting-session-id-format decimal;

}

}

radius-server {

192.168.1.5 {

secret "$9$TFCuIEyMWxO1hSrlMWJGUHP5TQ3/ApmPO1Rcle"; ## SECRET-DATA

timeout 300;

retry 3;

max-outstanding-requests 1000;

source-address 192.168.1.6;

}

}

accounting {

order radius;

accounting-stop-on-failure;

accounting-stop-on-access-deny;

immediate-update;

coa-immediate-update;

update-interval 10;

statistics volume-time;

}

}

}
The next line in configuration should be setting the access profile Splynx to Juniper MX router up level configuration:
access-profile Splynx;
The next step is to define Dynamic profiles. This configuration can be a bit tricky and complex. Depends on how complex is your overall setup, how VLANs are organized, if there are Port Aggregations or PPPoE services are running directly on Gigabit and 10G Ethernet interfaces. The example below shows the PPPoE profile that is ready for dynamic VLANs that are running on Aggregated interface ae0.
dynamic-profiles {

PPPOE {

interfaces {

demux0 {

interface-mib;

unit "$junos-interface-unit" {

vlan-id "$junos-vlan-id";

family pppoe {

duplicate-protection;

dynamic-profile ppp-profile;

max-sessions 16000;

}

}

}

}

}

ppp-profile {

interfaces {

pp0 {

interface-mib;

unit "$junos-interface-unit" {

no-traps;

ppp-options {

pap;

}

pppoe-options {

underlying-interface "$junos-underlying-interface";

server;

}

keepalives interval 30;

family inet {

rpf-check;

filter {

input "$junos-input-filter";

output "$junos-output-filter";

}

unnumbered-address lo0.0;

}

}

}

}

}

}
Few words to the configuration above – as you can see dynamic profile PPP-profile is encapsulated into other dynamic profile PPPoE. The speed limitation filters are set in dynamic PPP-profile interface pp0.
When dynamic profiles are defined, we apply the profile PPPOE on the AE0 interface:
ae0 {

description "PPPOE LINK aggregation ";

flexible-vlan-tagging;

auto-configure {

vlan-ranges {

dynamic-profile PPPOE {

accept pppoe;

ranges {

100-200;

}

}

}

remove-when-no-subscribers;

}

mtu 4000;

encapsulation flexible-ethernet-services;

aggregated-ether-options {

lacp {

active;

}

}

}
The last step in the configuration is to define the Firewall filter and policers to control the subscriber’s bandwidth.
Here is the example of filter and policer for 10 Mbps plan :
firewall {

family inet {

filter 10Mbps {

interface-specific;

term 1 {

then policer p_10Mbps_limit;

accept;

}

}

}

policer p_10Mbps_limit {

if-exceeding {

bandwidth-limit 10m;

burst-size-limit 1m;

}

then discard;

}
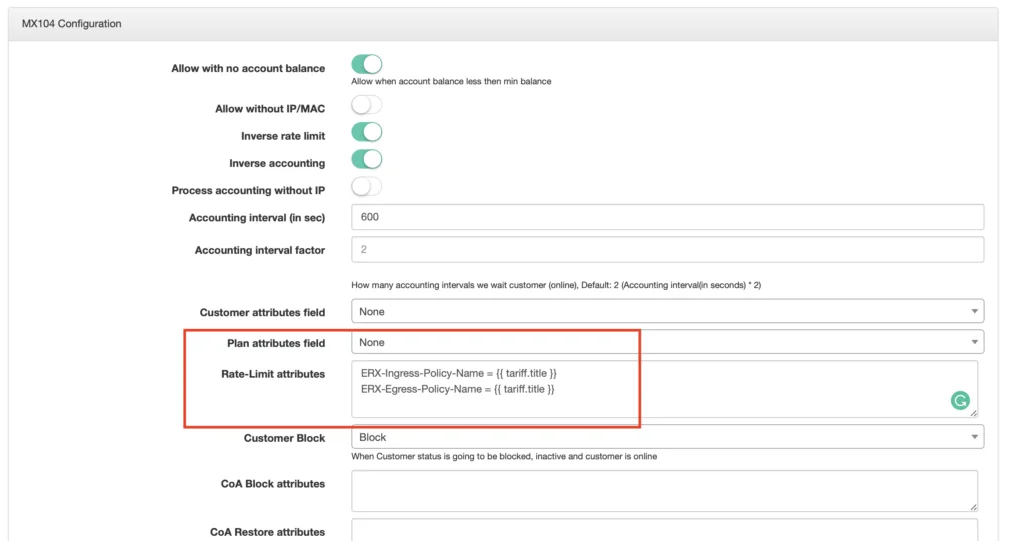
The attributes that are used to set the Filter name in Radius Access accept are :
ERX-Ingress-Policy-Name = "{{ tariff_name }}"

ERX-Egress-Policy-Name = "{{ tariff_name }}"
These attributes are configured in Splynx → Config → Radius → Selection of NAS type → Juniper → Rate-limit attributes
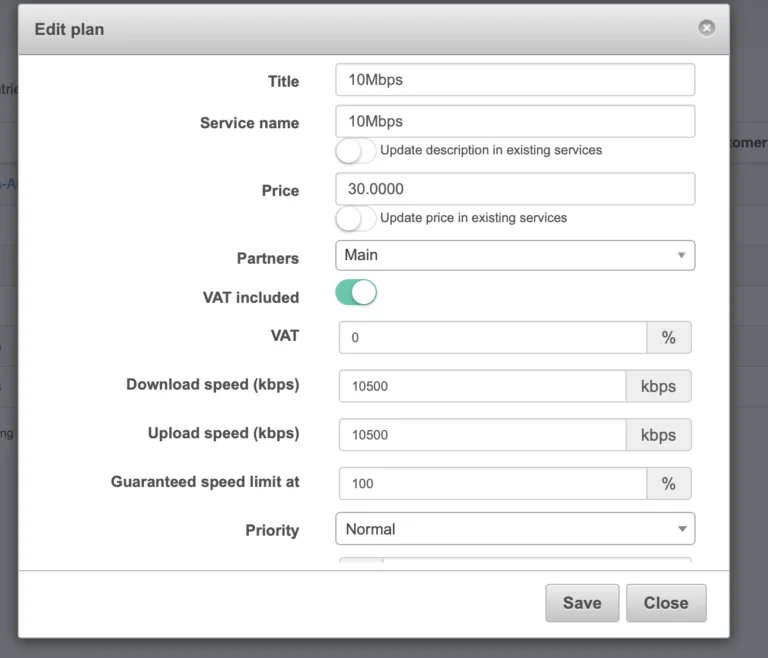
Tariff name should be set in Splynx “10Mbps” as on screenshot below:

Introducing mPSK for simple and robust per-device control of WiFi networks
mPSK support is part of Splynx, so you can easily segment your WiFi Network with Private Pre-Shared-Keys without requiri...
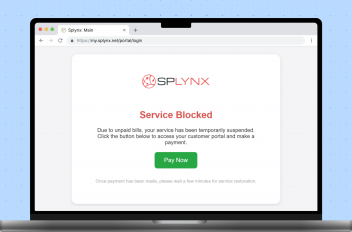
Improve Non-Payment Handling with Splynx DNS Blocking
Tackle non-payments more proficiently by redirecting blocked customers to a landing page. From there, they can easily ac...
Switch to the safe side and let network engineers sleep well at night
Running a local ISP comes with enough challenges — worrying about network failures and blocking non-paying customers d...

Using TR-069 ACS to Deliver High-Quality Wi-Fi to Residential Customers While Cutting Costs
TR-069 ACS isn't a magic pill for all troubles, but it can make your life much easier. This article we'll guide you thro...

Bandwidth isn’t key to QoE. Latency, bufferbloat & jitter matters
Many people misunderstand bandwidth and network speed and think latency doesn't matter over fiber. But that's not how it...
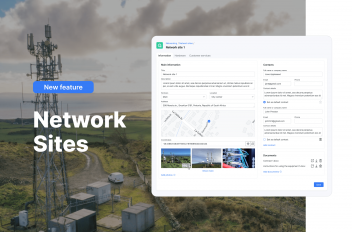
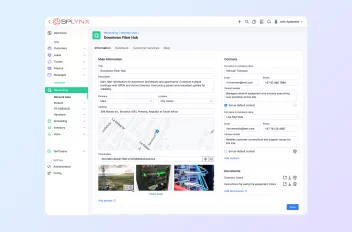
Simplifying Network Management for ISPs with Splynx Network Sites
Splynx Network sites bring ISPs around the world more streamlined client communication and efficient tracking for all yo...
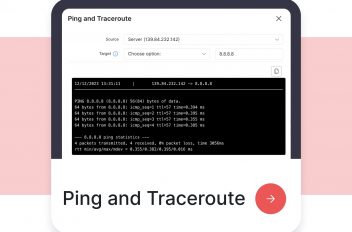
Simplifying network troubleshooting with Ping and Traceroute features
Explore Splynx 4.2's Ping and Traceroute features, simplifying network troubleshooting and boosting ISP team efficiency.
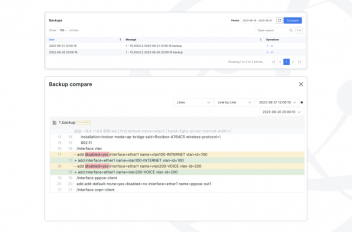
Hardware Backup & Change Management in Splynx
Maintaining network stability and reliability is paramount for both ISPs and their valued customers. To address this, Sp...
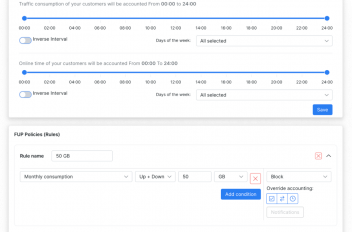
Bandwidth management in Splynx
As a local ISP business owner, ensuring efficient bandwidth management is crucial for maintaining customer satisfaction ...
Streamlining network management: A closer look at Splynx’s capabilities
Efficient network management is essential for ISPs to deliver reliable and high-quality services to their customers. Wit...
Find out how Splynx helps ISPs grow
Learn more


