

Cashdesk is a Splynx module for processing payments. The administrator can create Cashdesk users and provide them access to the module. The user is not able to change and view any customer’s data except his name/company name, invoice numbers, and actual balance. The Cashdesk can be used by accountants who don’t have to get access to Splynx but only to process the incoming payments. It can be also used by resellers. The reseller will only see his customers and will be able to enter payments to Splynx when he receives money from a customer.
Get more information about resellers’ management in Splynx.
The first step for Cashdesk activation is installation. It’s performed by two following commands in Linux CLI where Splynx is installed:
apt-get update

apt-get install splynx-cashdesk
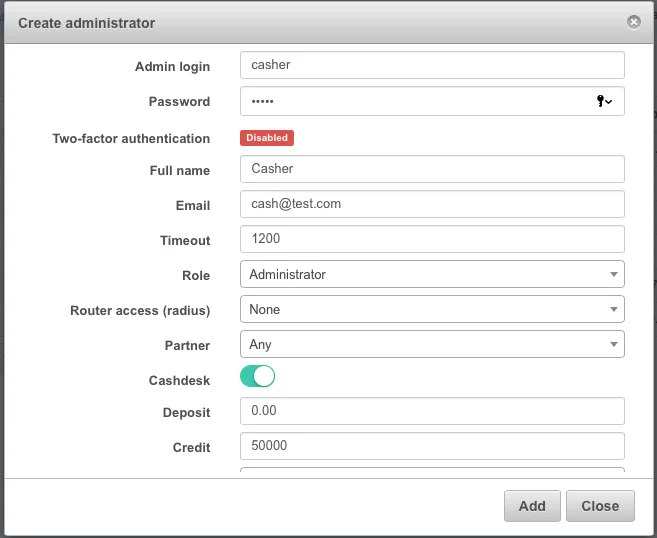
To create a Cashdesk user it’s needed to create an administrator and define him permissions to Splynx access. They can have some permissions to access Splynx or get 0 permission level and access Cashdesk only:

When the Cashdesk is installed, it’s available on http://yoursplynxurl/cashdesk”.
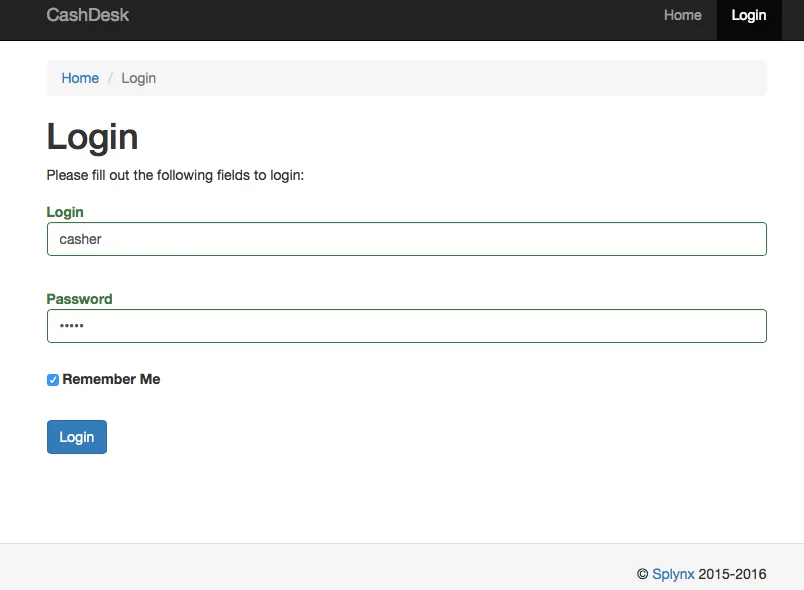
The first screen is a login page:

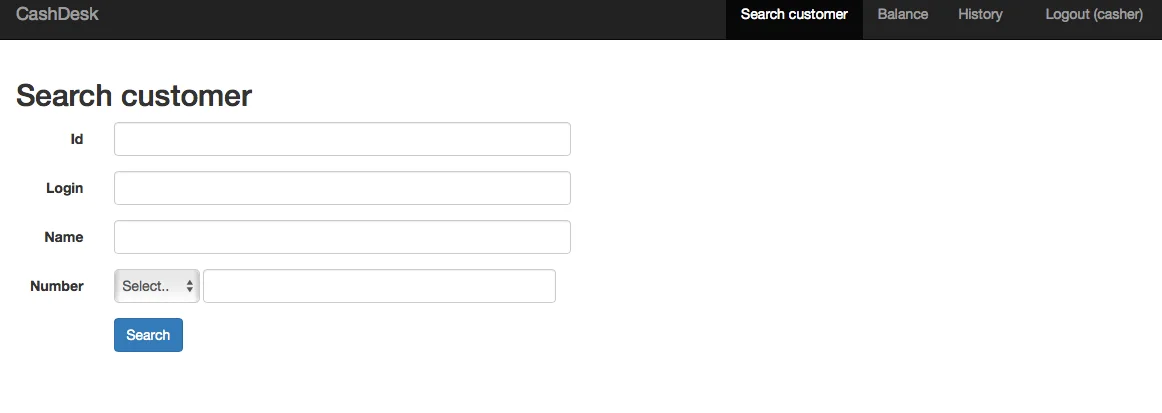
Cashdesk user has logged in, he can search customers based on customer’s name, login, or a number of invoices.

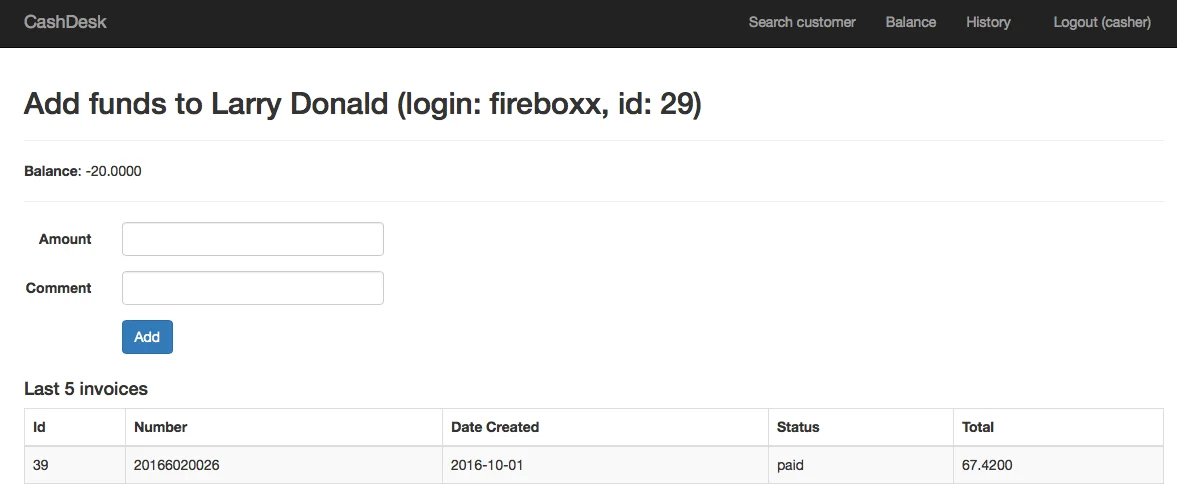
After entering the invoice number or customer name in the search field, Cashdesk displays customer information with his balance and unpaid invoices.

The last step is to add the payment and write a comment. When the payment has been added, it appears in Splynx as a new transaction and also as a payment with a comment, entered in Cashdesk.

All payments of the user “casher” can be found in the “History” section of the Cashdesk.

The tutorial for Cashdesk you can find in the video below:
Find out how Splynx helps ISPs grow
Learn more