


Splynx blocks non-paying customers automatically. The administrator can also block the customer manually. When a customer status is set “Blocked” or “Inactive” , Splynx sends command to a router to block them. If the status is changed to “Block”, Splynx never cuts the service, but places the IP of end-user to the Address-list or gives them IP address from the IP pool for blocked customers. Then the administrator can create a rule on the router for redirection of non-payers to a special page.
Splynx has 4 default blocking pages which are located at http://yoursplynxurl:8101, http://yoursplynxurl:8102, http://yoursplynxurl:8103, and http://yoursplynxurl:8104
It’s a simple HTML file, which you can change via command line inside your Splynx installation (SSH) at /var/www/splynx/web/errors/ and folders 1,2,3,4 correspond to ports 8101, 8102, 8103 and 8104.
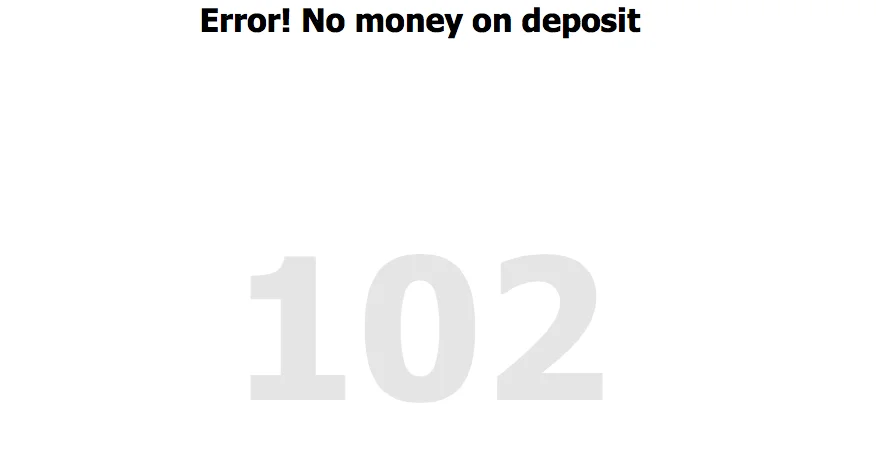
An example of a default blocking page is shown below:
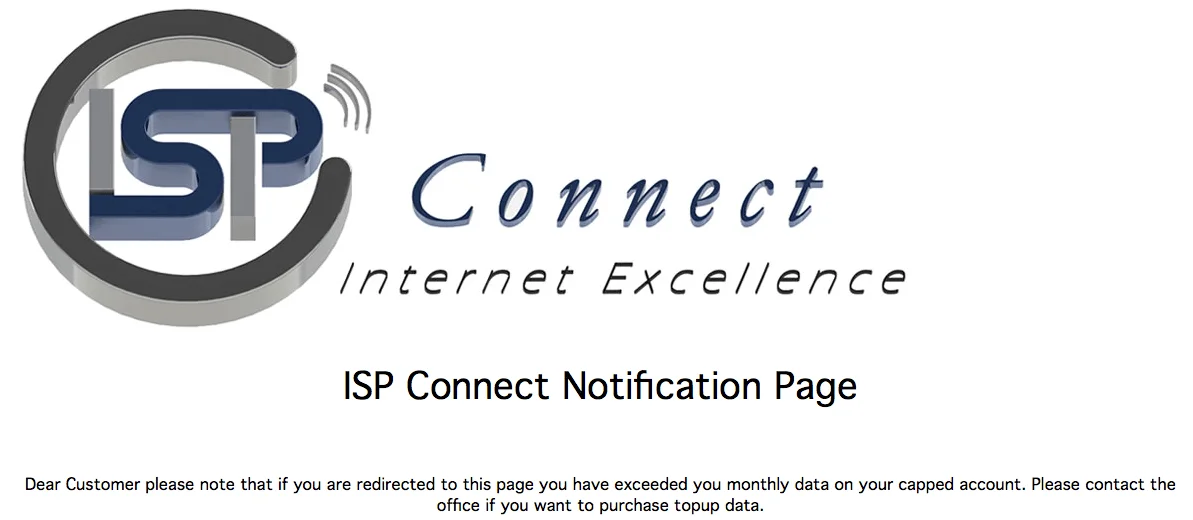
Example of how the page can be customized:
There are 4 types of blocking scenarios :
If you use Mikrotik-based authentication – Hotspot, DHCP, Wireless, or PPP, then as the first step, you should enable API blocking of users. It’s called “Disabled customers to Address-List” in Router API settings:
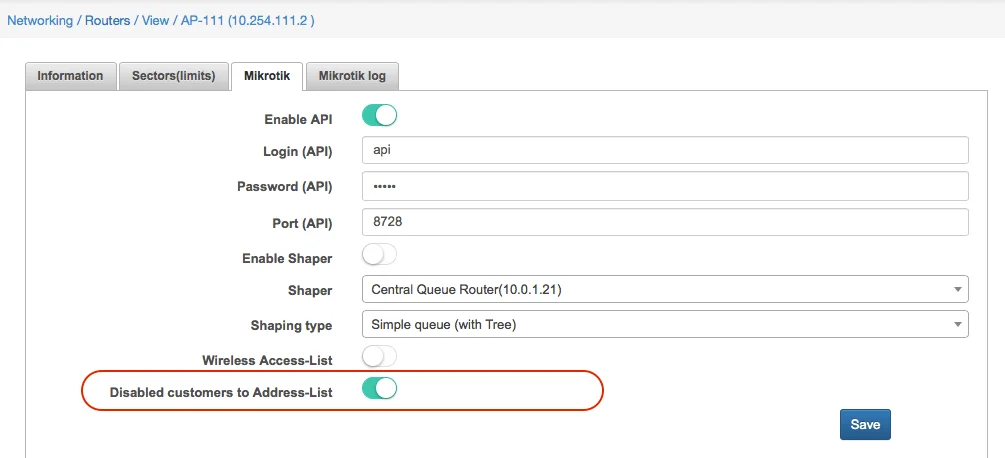
When a customer is moved to status “Blocked”, his IP address is put to address list “SpLBL_blocked”. By setting up the rules for redirection, you can achieve that customer will see a special webpage with information on why his access to the Internet was blocked.
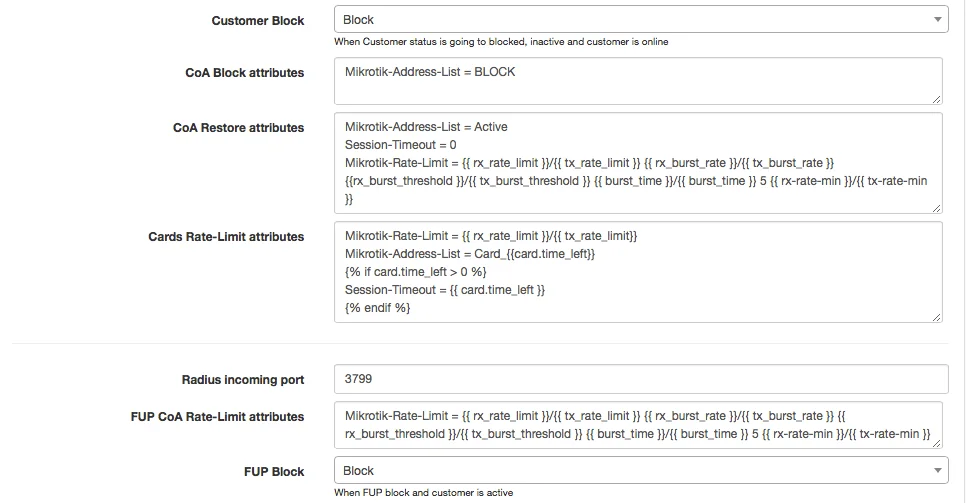
In Radius by default, we also work with Address-lists. Splynx uses names of address lists Reject_1, Reject_2, Reject_3 and Reject_4 for different type of errors. The names of address lists are configured under Config → Networking → Radius and also under field COA Block attributes:
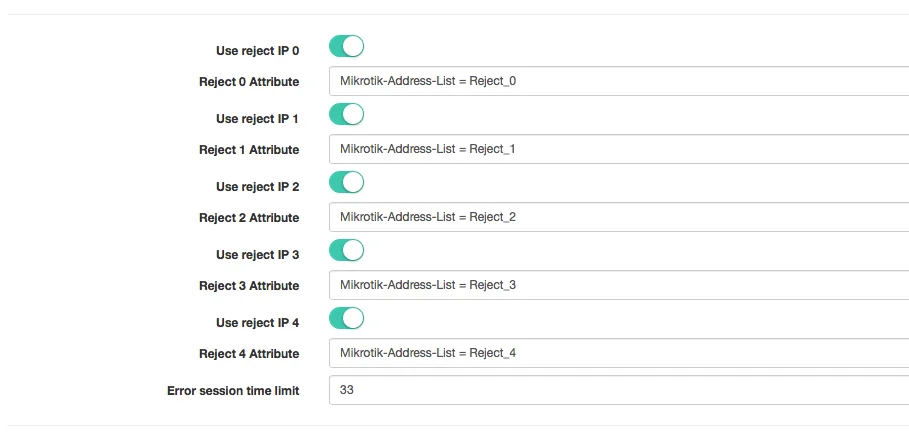
The difference between Radius COA block and session blocking is that with COA session of the customer is not disconnected, while in Session blocking his session is cut and the user must reconnect his device.
The setting how to block a user is defined in Config → Networking → Radius “Customer Block” and “FUP Block”:
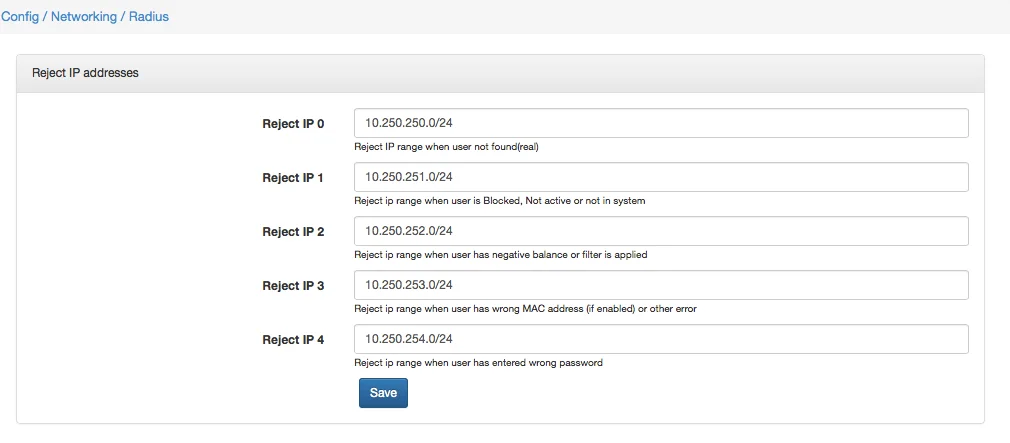
If a customer gets IP from the dynamic pool, or when the NAS router is not a Mikrotik, Splynx gives to the blocked customer IP from Reject IP pools. By default, these pools are 10.250.25x.0/24, but it can be changed in Config → Networking → Radius as shown on the screenshot below:
If you use Mikrotik routers, there are 2 rules to redirect all TCP traffic to the blocking webpage and to cut all other traffic like Peer to peer connections (redirect them to the router itself):
/ip firewall nat add action=dst-nat chain=dstnat protocol=tcp src-address-list=Reject_1 to-addresses=10.0.1.158 to-ports=8101

/ip firewall nat add action=redirect chain=dstnat protocol=!tcp src-address-list=Reject_1
All four methods of Splynx user blocking you can find on our video tutorials:
Find out how Splynx helps ISPs grow
Learn more